The leading advertisement network Google Adsense has changed its policies for the Adsense account approval. Earlier, getting AdSense account approved was very easy. All you needed was to apply for AdSense through blogspot or youtube and use it on any other websites you want.
That was very easy process but people started misusing it. After getting AdSense they started using it in low quality and spamming blogs. So, Google decided to make a big change to their AdSense policies as mentioned in their official blog. There are now two types of AdSense account. The first one is AdSense hosted account and the second on is non-hosted AdSense account. Here’s the difference between AdSense hosted and non-hosted account.
What is Adsense Hosted Account?
AdSense hosted account is the one that is approved by partner sites of Google such as Blogspot, YouTube or HubPages. So if you have an approved account from there, it will be known as Adsense Hosted Account. When you want to publish their ads to the non-hosted website i.e yourblog.com, then you are required to submit the request to upgrade your account from hosted to non-hosted. Getting approval of hosted account is comparatively easy to the normal account. In this type, you do not have your own domain. You have to go through the proper application procedure and place the desired website’s URL to the show ads on your website.
What is Adsense Non-hosted Account?
AdSense non-hosted account is the one which you can use on any website that you own even if your account is on domains like .com, .net or .org. However, getting a non-hosted Adsense account is not that easy anymore because many people tried to trick AdSense to get approved so they changed the policies. You have to fulfil all the requirements of AdSense to get approved. When you apply for the normal Adsense account, you are required to have the quality blog or website which is according to AdSense requirements. Their team will review your account manually. You need to get the approval before you start placing your ads on other websites otherwise your ad place will appear white. In case, if you don’t get the approval from Google AdSense. You can always try back until you finally get approved for the non-hosted account. Here I’ll show you how to upgrade your AdSense hosted account into non-hosted. Make sure that to read my post on things to do before applying for AdSense.
Things To Do Before Upgrading AdSense Hosted Account:
Before you submit your request to convert your AdSense hosted account into fully approved non-hosted account. Here are quick tips for you.
Add the main pages like About us, Contact us, Privacy policy on your blog.
You must have the top notch domains like .org and .net.
The applicant must be above 18.
When you are above 18, then you can use your name as the payee same as on your bank account.
Inscribe the content of high quality and do not forget to optimize it with the right keywords for the search engines.
Your website must have a good design, swift and speedy loading.
Have a sophisticated looking website theme.
Read more in detail…
How To Upgrade AdSense Hosted Account?
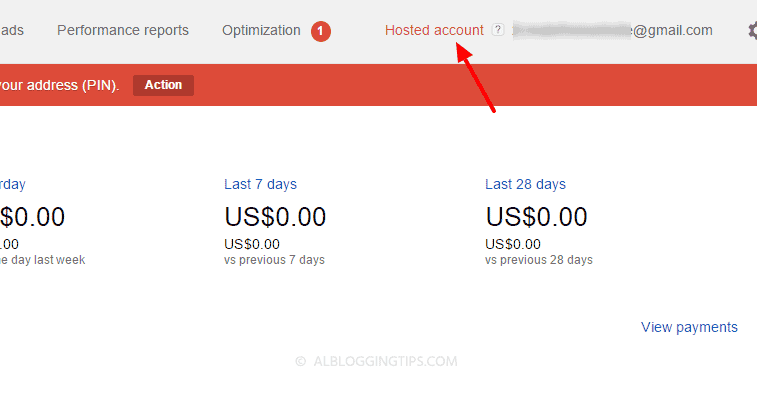
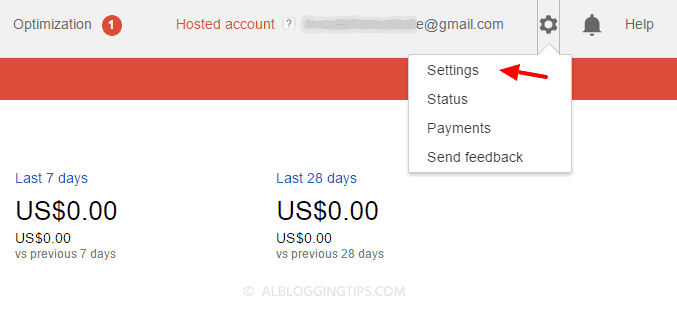
So here is the process to convert AdSense hosted into non-hosted account. The first thing to do is to get the quality website. The Google team has changed the process into 2 steps. You have to submit the request for the upgrade, your account will be reviewed, you will implement ad and then the AdSense team your account again and you will be get approved or disapproved. Step 1: Sign into your AdSense account. Step 2: On the top right, you will see the gear icon. Click that and select settings. Step 3: On the left side select Site “Access and authorization” section and select Site authorization. Step 4: On the “Show ads on other websites” page that appears, enter the URL of the site where you plan to show ads.
Step 5: Click Submit.
Now after submitting the application, you’ve to add the AdSense code in the blog you submitted in above step. Step 6: Add AdSense code to your website
Sign into your AdSense account. Now visit the My ads tab.
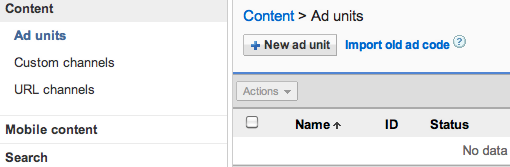
From the sidebar, choose “Content.”
Click +New ad unit button.
In the next step enter the name of your ad and customize it.
View details about the settings.
Click Save and get the code.
Now create a new HTML widget in your blog sidebar and add AdSense code that you generated in the step mentioned above.
Done. Google will manually review your application. It can take few days or week.
What to do if the application is disapproved?
You’ll get an email about approval or disapproval. Even if your application is rejected, don’t worry. You will be able to use Adsense on hosted sites like Blogspot or Youtube. You can always try again and again until you get approved You can also try other ad networks. I recommend Infolinks and Bidvertiser. Are you using Google Adsense? Is it hosted or non-hosted fully approved account? If you have any other questions, feel free to ask me in comments. Thanks and stay blessed!
Our web today is a wonderful place. It's increasingly become a knowledge hub for strollers around the globe. And you know what the best part is? It does not have a religion, race or color, that's where perhaps its strength lies in. Point being, no matter what you are after, from details of products to how to use them, from fruit varieties to language origins, from how to hack Facebook account to how to set up a custom domain name in Blogger. Each and everything is there, in abundance and easily available. Now I know you are here to understand how you can setup/host your custom domain on your Blogger account. So let's get on with it, without further delay.
Before we start It's important that you realize, it isn't difficult to add a custom domain into your blogger account. If you are a blogger, it's perfect if you already own your own blog, it shows your passion and love for blogging and provides you with freedom to move from one platform to another, when and if you need. Also from users perspective, it's much easier for them to remember and visit your blog at customized address like myblog.com thanmyblog.blogspot.com.
One of the best things about Blogger is that it does not push you to host your site with blogger. It is entirely your own choice to choose from either of two hosting plans 'hosting on BlogSpot' with address myblog.blogspot.com, or going with a custom domain with address myblog.com.
Some Popular Web Hosting Sites:
If you don't already have purchased yourself a custom domain, these are the places that you should be looking for to get one:
- EasyDNS - 1and1 - GoDaddy.com - Yahoo! Small Business - No-IP - ix web hosting
So now if you have bought yourself a domain, from either of these you would have an IP address and a name. Let's assume our is 'mynewdomain'.com.
Well, it's time to start adding a custom domain to your blogger account.
Remember:
Here we are using setup for GoDaddy.com, the most popular domain name provider. For custom domains from other sites, the steps are almost same, so don't vanish.
Step 2. Click on your blog and then go to "Settings", choose "Basic".
Step 3. Under "Publishing" section, click "+ Setup a 3rd party URL for your blog".
Step 4. Under "Third-party domain settings" next to "http://" type your domain that you just purchased and make sure that you don't forget to add the "www" prefix to the domain name.
Step 5. Click "View settings instructions" to get the blogger's official instructions. On the Blogger instruction page, choose the "On a top-level domain (www.example.com)" option.
Step 6. Under the point 9 of instructions, 4 IP addresses will be given, copy and save all 4 of them.
Step 7. Go back to your Blogger Settings and press Save. It won't get saved and an error will appear saying 'We have not been able to verify your authority to this domain. Error 32.'
Step 8. Under the error, you will see two fields "Name, Label or Host Field" and "Destination, target, or Points To" field. Copy data of both rows from these fields.
Step 9. Now log in to your GoDaddy.com account and click on "My account" on the upper right corner > select "Manage my Domains".
Step 10. Here you should see your purchased domain name > just click on your domain name.
Step 11. Click on the "DNS Zone File" tab next to Settings and choose "Use Classic DNS Manager".
Step 12. Next, click the "Edit" button to edit your DNS Zone File.
Step 13. Under the "CNAME (Alias)" menu, click "Quick Add" button at the bottom of the screen (see image 1 in the below screnshoot).
Step 14. In the Edit box that now appeared, enter "www" in the first box and "ghs.google.com" in the second.
Step 15. Click "Quick Add" again and enter details from second row of the data we saved in step 8.
Step 16. Under the "A (Host)" menu, again choose Quick Add (see the below image).
Step 17. Host will be @ and the "Points to" value should be the one provided by Google IPs, saved in step 6 above. These are the Google IPs that you should get:
Step 18. Add all 4 of them one by one and delete old host as you won't need it anymore.
Step 19. At the top of the page, click on the "Save Zone File" button to save your setings.
Step 20. Now go back to Blogger and try to save settings again. The registration process takes 24-48 hours, so don't worry if you get an error again. Come again later to Blogger after 24-48 hours, repeat step 2 to 4, press Save and the error should be gone.
Step 21. After your URL starts working, click on the "Edit" link next to domain name on setting page.
Step 22. Check the "Redirect... to..." checkbox below your site address to ensure that even if the visitors will miss out the www part, they will still be able to reach your site.
Step 23. And that's it. Enjoy your new URL!
So this was easy, right? Only a handful of steps and we have successfully completed our mission of adding our custom domain in our blogger account. In case you haven't yet, stay patient wait for 2 days and try again. Or repeat steps 1-22, and make sure you don't miss any. Otherwise your new URL is ready and all set to roam around the wonderful world of web.